
Perspective change can, as ought to be self-evident, on a very basic level turn your photo. Consolidate when shooting the manner in which that you will solidly trim your photo. Do whatever it takes not to stop for one moment to make commonly colossal edges or to take a couple of photos that you will by then assemble on the whole incorporating.
Wide-point focal points permit, as their name proposes, to photo a wide scope of perspectives. Sadly, the subsequent picture is twisted by the mutilation, significant on this kind of the focal point. This instructional exercise will tell you the best way to fix these issues.
The laws of optics are in this way made: by snapping a photo with its wide point, one acquires all of a sudden on an image with the disfigured viewpoint. The main image of this instructional exercise is a genuine model. At the point when I took this slide, I was against a divider. Just answer for snap this photo: take out the 24 mm and put the camera on the ground to anticipate camera shake (I for the most part travel with as little luggage as possible and I never take my tripod is excessively lumbering).
The outcome is obviously without request: so I wound up with a photograph that a point of view transient as well as it isn't even! The reality of having it in increasingly taken against plunge to much more emphasized the impact !!
With the goal that's photograph altering work in context! (It's the least we can say… ). This one will happen in 2 phases:
fix and right the contortion impact.
reproduce the missing regions
The photograph altering programming utilized in this instructional exercise is Photoshop Components.
Fixing and revising the twisting of the photograph.
These tasks are helped out just through the channel Right focal point mutilation ... When you have tapped on this alternative (in the Channel menu), a window shows up and a few decisions are accessible:
Mutilation Concealment: This capacity is to be utilized when for instance your frame of reference or structures is adjusted or bent. It ought to be realized that this optical wonder is available on every one of the goals. On the off chance that this mutilation is right around zero in the inside, it very well may be obviously unmistakable on the fringe of your photographs (everything relies upon the kind of the focal point). This impact is consequently intensified by the standards of synthesis of the picture. Unmistakably, it is by forming your photographs by not putting, for instance, the skyline heap in the center that you complement this wonder of bending.
Focal point bending
The piece with the skyline at the highest point of the picture enhances the mutilation impact made by this focal point
Vignette: This choice remedies the dark radiances that show up toward the edges of your photographs. It doesn't mediate during the time spent redressing points of view.
Viewpoint alternative: this capacity is very fascinating in light of the fact that it permits to address photographs taken against plunge or side. This is the thing that we will do with our model by moving the Vertical Viewpoint slider to one side (the level and vertical lines that fill in as a kind of perspective). To keep the image from being trimmed during this procedure, I encourage you to utilize the Fringe Augmentation setting by moving the slider to one side.
Point: this is the parameter that will enable us to fix the photograph. The rule of utilization is indistinguishable from the point above.
Photograph after the revision of points of view
Even photograph and points of view redressed
The photograph is presently cleared of all its optical distortions. Lamentably, as should be obvious, the state of the photograph is fairly unique. The editing apparatus will enable us to locate a progressively regular arrangement. To keep up the viewpoint proportions of ordinary photograph positions, you should determine them in the unfilled fields that show up underneath the menu bar once you have chosen the Determination square shape device ("Fixed Prop." Mode and report 3/2 for reflex or 4/3 for minimal organization). For our situation, we will change to 4/3 configuration to keep the whole tallness of the landmark. When you have chosen the zone, go to the Picture menu and afterward Yield.
Making missing regions
Point of view adjustment can, as should be obvious, fundamentally twist your photograph. Incorporate when shooting the way that you will firmly trim your photograph. Try not to stop for a second to make generally huge edges or to take a few photographs that you will at that point gather in all-encompassing.
In the event that, as in our model, it was not arranged, we should make the missing territories. Be cautious, be that as it may, of the confinements of this strategy. Photoshop can not "surmise" what was in white territories. Crossing over the missing regions of a photograph is feasible for regions with a specific consistency: soil, sky, divider, vegetation ...
The capacity that will enable us to do this control is the support instrument. The standard is as per the following: we click on the device being referred to then we tell the product the region of the photograph to be copied by squeezing the alt key. The cursor at that point appears as a viewfinder. Snap-on the territory to be duplicated and afterward move your cursor to the spot to be replicated. By moving the cushioning apparatus you will see that the white territory is loading up with the objective zone you have picked.
Here, the photograph of this landmark is presently even and clear of these points of view.
Also read more,
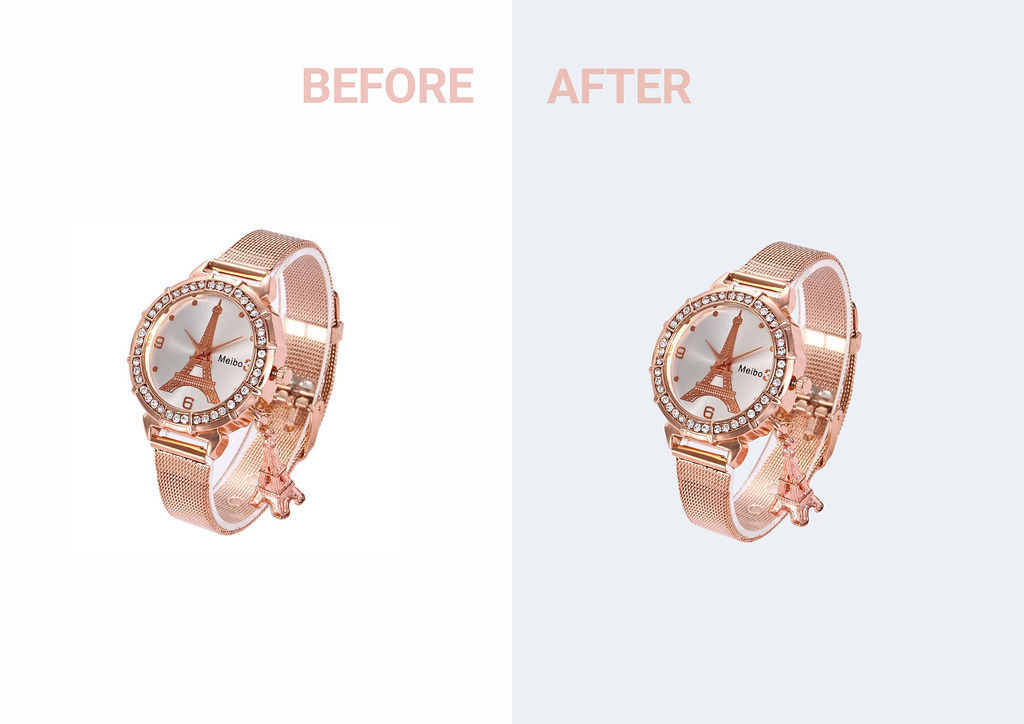
Multi photoshop clipping path services are utilized for the pictures that need separation from others. It is done to isolate a few pieces of the image to later modify it in Photoshop.
Tag:
 2413
2413