
All about setting up your Linksys extender using extender.linksys.com
Linksys Extender devices have been around for a while, helping users overcome low bandwidth challenges with exceptional features and capabilities. If you are someone looking for a device that meets all your wireless connection and reach requirements, Linksys Extenders are a device to go for without any second thought in mind. However, if you have already purchased a new Linksys extender, this article is going to tell you about the steps you can take to set up your favorite Linksys range extender in under no time.
Things you need to know
The most important thing which every user needs to know before they begin with the setup and configuration is meeting the prerequisites accurately. You should have the knowledge of what’s needed so you don’t fret later on and waste time figuring out the steps to set things up.
Here are some details and equipment you would need to be ready before you begin with the setup:
- The SSID and the password for your main router
- Network cable(s)
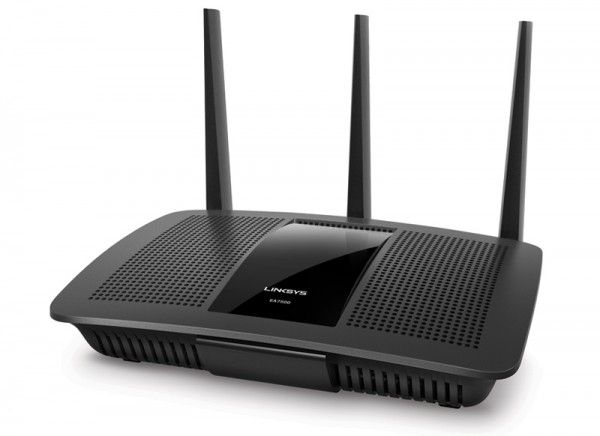
- Your Linksys range extender
- A computer system or a smartphone
Now, once you are sure you have these things, figure out where you want your range extender to be installed. Finding a perfect location is a matter of patience and you’ll need time for this. Check if the hallway, your bedroom, the porch or your upper storey is perfect for installation. Just make sure that the range extender is able to receive at least 60% of the main router’s signal strength.
The LEDs on the front panel will also help you with finding the perfect installation spot. Whenever they are under excellent coverage, you’ll see a green color on the LED. When the signal strength is average, you’ll see a yellow/ amber LED light. And when the signal strength is poor, which will be indicated by a red light, you’ll need to find some other spot for your range extender. COnsider moving the extender closer to the main router.
Now, when you are ready with everything, start with following these steps.
Linksys Range Extender Setup using extender.linksys.com
- Plug in your Linksys range extender in a power outlet near the main router. You can relocate the extender to some other place later on, once the setup is complete.
- Now, go to your computer system and navigate to the wireless network settings.
- Locate the extender device SSID as mentioned on the product label. Click on it to connect.
- Once the computer system is connected to the local device network, open a web browser of your choice.
- Type https://extender.linksys.com in the address bar and press the enter key. This will direct you to the Linksys range extender login page.
Tip: If you are not able to access the web address, you can also use the default IP address to access the setup page. The IP address you can use is 192.168.1.1. Type the same in the address bar in place of the web address and press Enter. You will reach the Linksys extender login page.
- Now, once you have the linksys extender login page in front of you on the screen, type in the default access credentials.
- In the username field type “admin” and leave the password field blank. Click on the Login button and you will see the main dashboard of the web-based setup wizard appear on the screen.
Configuring the settings
- Now, from the sidebar, click on the Wireless tab and under the Wireless Section, you will be asked to define a name for your new range extender network. Type in the SSID you want your range extender network to have.
- Below the SSID field, type the password you would like to keep for the network. From the encryption type menu, select WPA2-PSK and click on the Save button.
- If you are using a dual-band extender, you will need to type in the details for both the network bands.
- Now, the next screen will ask you to connect your extender to the source network or the main router network. After searching for the router SSIDs, you’ll see a list of available networks. Select the SSID for the router from the same and type in the password details for the same. Again, if you are using a dual-band router, provide the credentials for both the network bands so you don’t face trouble later on.
- Once you have entered the details, click on the Save button. Wait for a few seconds and you’ll see a network summary screen in front of you containing all the details for your new extender network.
- You may record this information or simply take a snapshot for future reference, if you want.
- Restart your devices now. Once they are up and running again, reconnect your devices to the new extender network and you can continue accessing the internet.
- You can now relocate the Linksys range extender to the predetermined spot.
Troubleshooting issues with the Linksys extender setup
If you face trouble accessing the web address extender.linksys.com you may also use the default IP address i.e 192.168.1.1 as mentioned earlier. If using the IP address doesn’t generate any results, you can proceed with restarting your devices. Restarting your range extender and other equipment will clear the cache files that might be causing trouble in the internet connection.
If you find that restarting the device is also of no use, you can RESET your range extender to factory default settings. To do that, you would need to locate and press the RESET button for about 10 seconds. When the range extender restarts, release the button and reconfigure the settings as discussed above. You will then be able to access the web address extender.linksys.com easily.


*********outeducation021@nightorb.com
Start betting with confidence using the 1X200MAX promo code at 1xBet! Enjoy a 100% bonus up to €130 or €1950 + 150 free spins. Designed for African users, this offer delivers unmatched rewards. code 1xbet télécharger