
Great photos will bring your listing to more potential customers and increase the ability of success transactions. Learning these tips to sell your house easier
Great photos will bring your listing to more potential customers and increase the ability of success transactions.
Advertisement is one of the most important factor which impacts customer decision and enables sellers to easily and effectively get customer’s attentions. Nowadays, a good advertisement not only provides product imformation but also includes visual and lively photos. Arcording to a recently research, when a real estate advertise comes with professional photos, the successful sale of house will be 32% faster than normal.
Fortunately, now you can make an amazing album of your own house without using any photography services by taking a look at some tips bellow.
1, Prepare your home by cleaning and desgning:
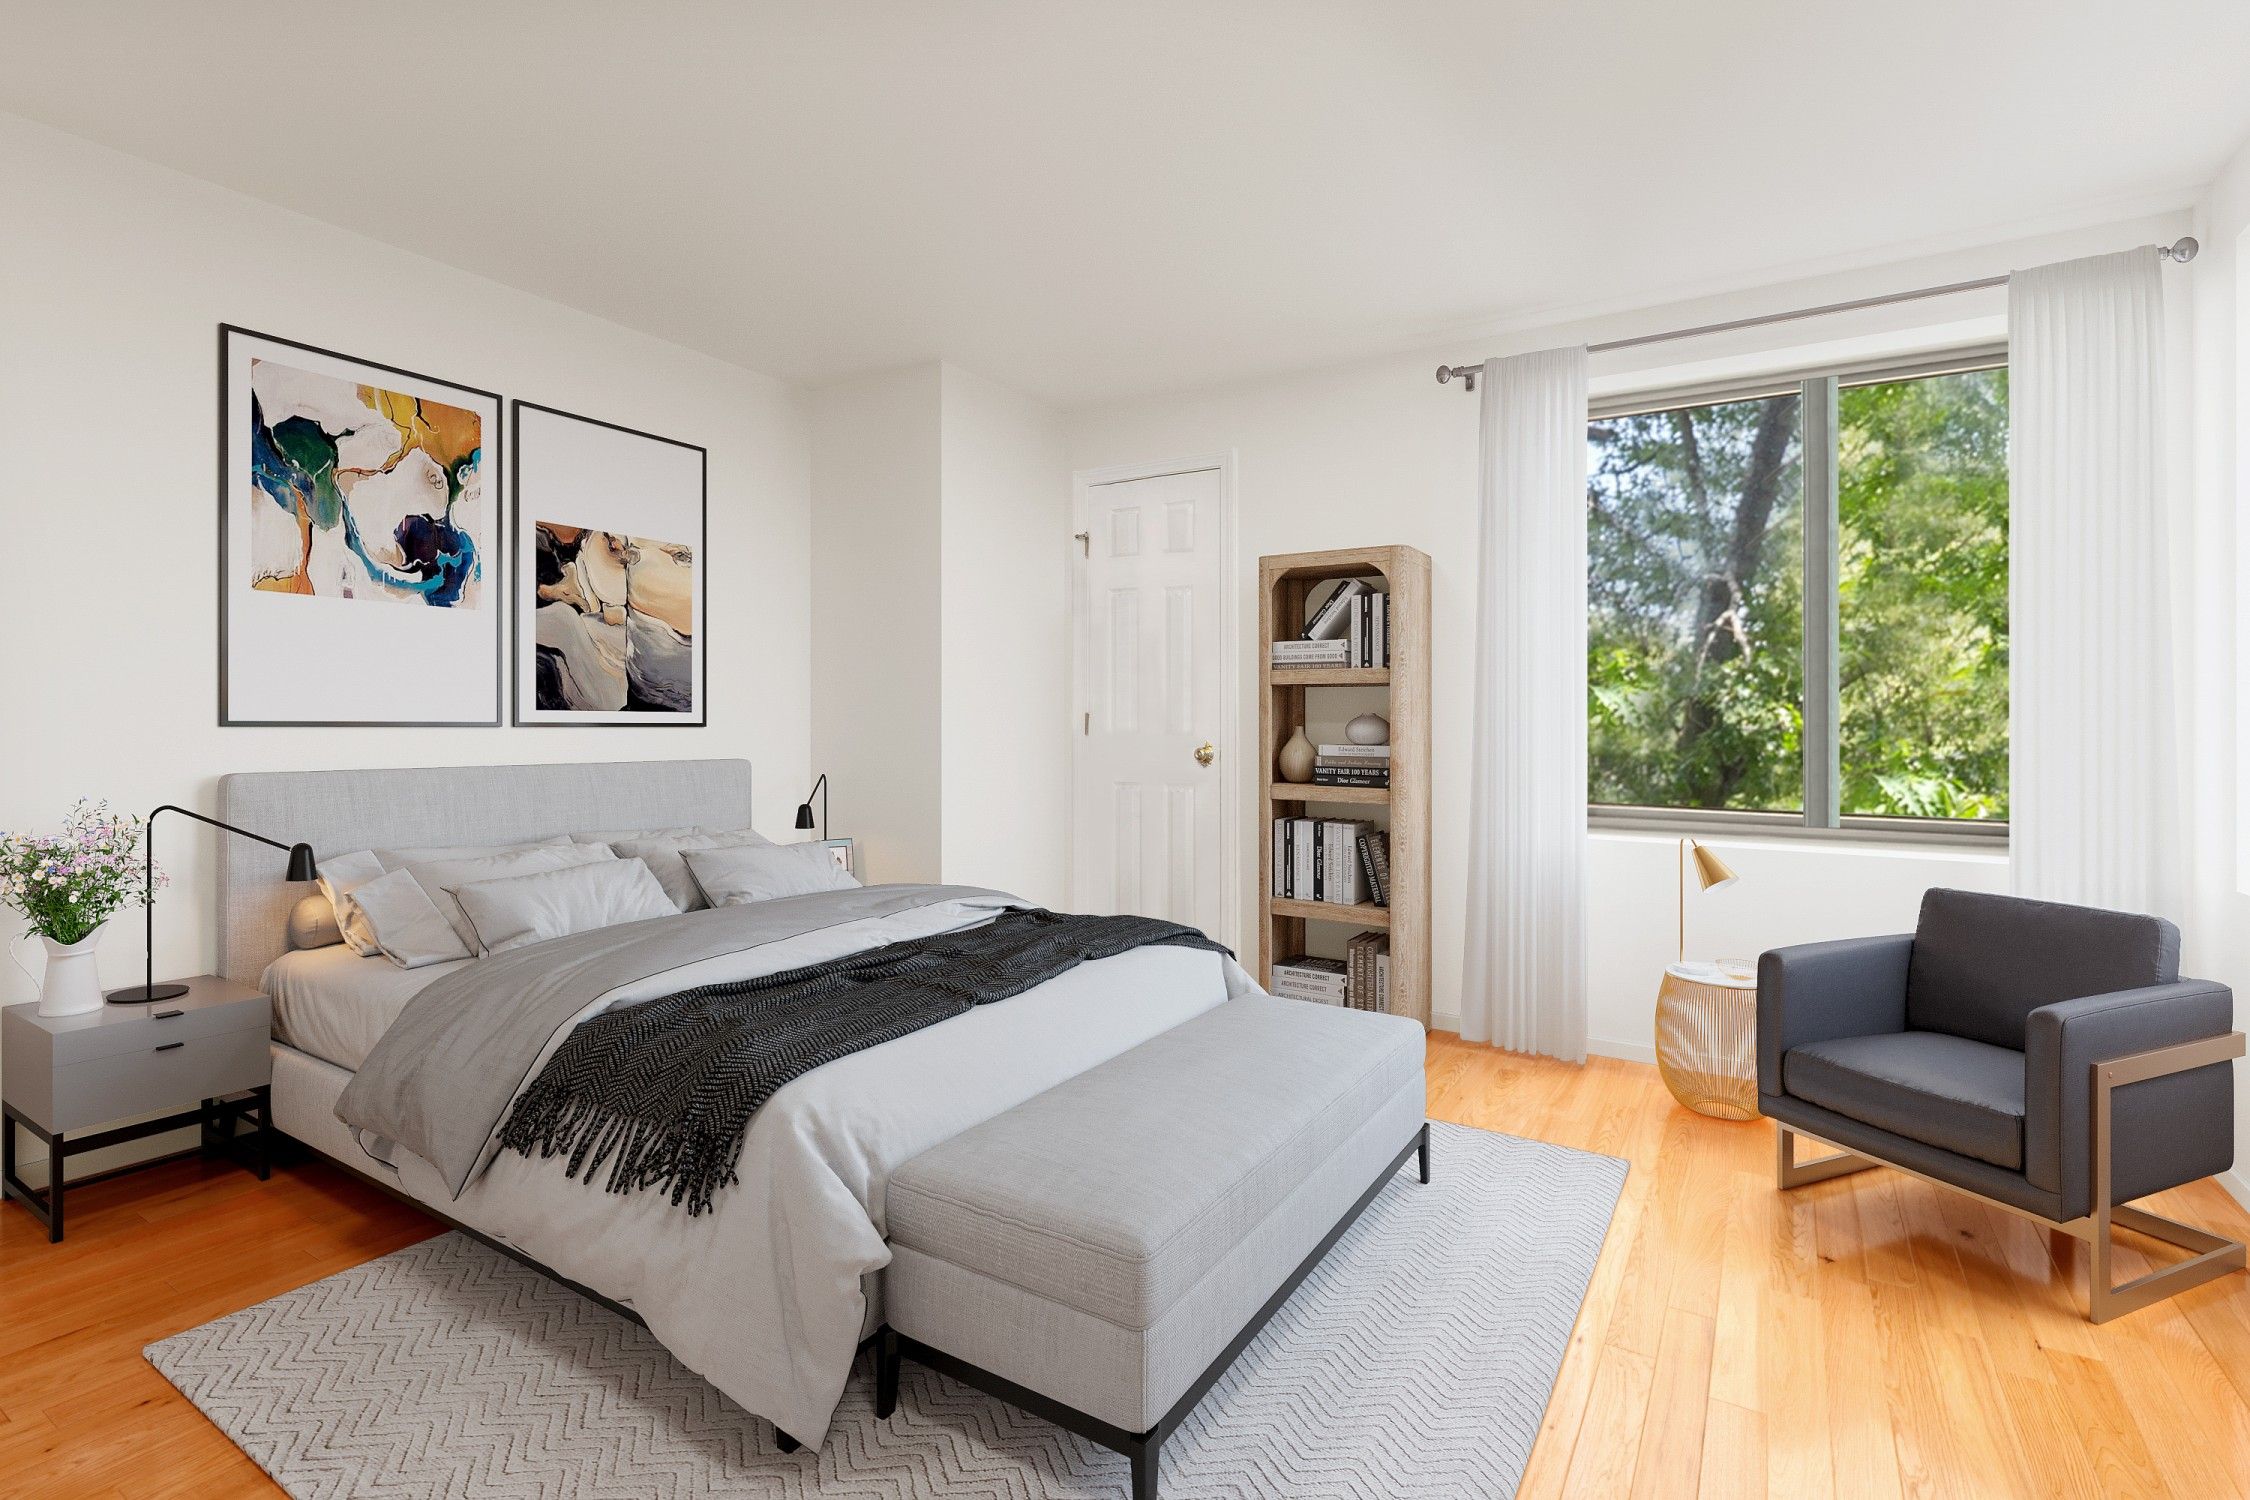
Do a deep clean of every rooms in your house before shooting. Clear the kitchen counters of small appliances, tuck away bathroom items like toothbrushes and combs, remove any eyesore cords or wires, put your TV remotes in a cabinet,.... So it will make buyers more comfortable looking at your photos and have a feeling like their homes.
Then, make the house being different by going room by room with a critical eye, making small tweaks such as: Open the blinds, turn on the lights, and add small touches that make the space feel welcoming.
And don’t forget to give it some colors, like fresh flowers, a plush throw pillow, or a cozy blanket.
2, Leave doors open between rooms:
A way to give viewers insight into the layout is to leave doors open between rooms, so they can see how they all connect.
3, Shooting time and light:
Light makes your house look more bright, clean and luxurious.
The best time for shooting is on the early morning when it is not really sunny. The other time like midday may make your pictures look dark result from large shade of objects and it seems to lack of light at late noon or evening.
You should also take consider about inside light. It is suggested that you may open all doors and windowns in order to get as much nature light as possible or using the artificial light instead.
4, Choose shotting angles:
Choose angles which hightlights the house’s wide and also make it look more spacious and bright.
A wide angle lens would help you take the most beautiful and quality photos. Because it enables you to capture the tight space and also make rooms look more spacious and deeper.
5, Use landscape orientation:
Horizontal orientation makes it easier to capture the full room, and it’s also the orientation used on the MLS and other real estate sites.
6, Take photos that highlight the layout:
Buyers are interested in the layout of the home, and great photos can showcase both the flow of the room and the relationship of one room to the next.
7, Avoid large objects in the foreground:
An otherwise successful photo can be ruined by something big in the foreground, such as a bookshelf, couch, or other big piece of furniture. Keep spaces wide open for the most appealing images.
8. Take exterior photos at an angle:
When taking a photo of the outside of the home, a photographer should be positioned at an angle, showcasing both the front façade of the house and the depth. An angled image gives a better feel for the size of a home.
9, Finally, take tons of photos:
While you’ll only need to post 22-27 photos with your listing, you’ll want to take many more than that, so you can pick the very best images in editing.
Note: for each real estate listing, there are should be 4 or 5 photos at least so customers can easily make a decision.
Wish you have beautiful photos!


 3088
3088