
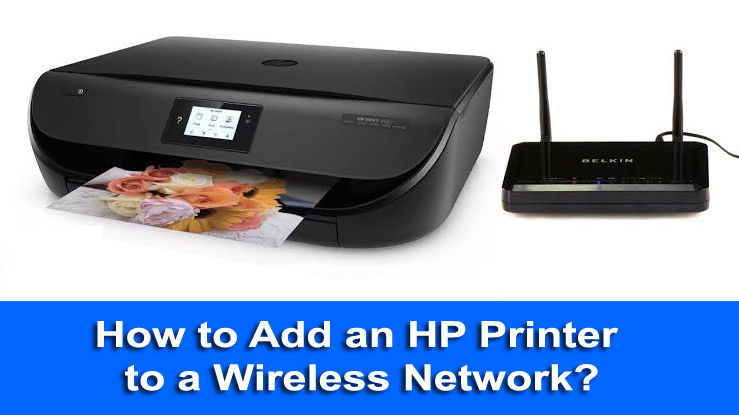
Here in this blog, we will describe the simplest way to add an HP printer to a wireless network.
HP provides the easiest printing machines which are equitable yet super-effective. By keeping diverse user categories in mind, HP designed and developed a wide series of printing machines. Each kind of HP printer is suitable for both individual and expert uses. The firm quality, speed, and execution are few features of HP printers. There are a number of printer series provided by HP for all types of users, and the latest one is wireless printers.
HP wireless printers are laden with great features it allows users to get the remote access of other devices. Moreover, lets your device to fax, print, and scan without any cable connection. However, many times novice users face issues while connecting their printer to the wireless network. Connectivity issues on the wireless network are one of the common issues which require instantaneous assistance.
Though, you can get help from the HP help center and also user manual guide comes with the new HP printer to set up. Here in this blog, we will describe the simplest way to add an HP printer to a wireless network.
Connect Printer to Wireless Network
Here below is the fully-fledged guide for connecting a printer on the wireless network. There are two methods used to connect the printer with the Wireless network.
Connect it automatically
Check the Compatibility of Network and Device
In order to ensure the HP compatibility of Network and Device, you must have below given requirements on your computer.
-
The system should have installed the latest version of Windows or iOS
-
It must have a support network connection and it should be able to control the wireless network.
-
It should have the valid IP address
Download latest HP Printer Drivers
Check for the latest drivers of your device by visiting the official website of the HP printer.
Start the Printer
After installing the computer drivers, turn on the printer and follow the on-screen instructions. Once you reach the network section and click on the wireless option. Now click on “Yes, send my wireless settings to the printer”. Now, wait until the printer connects to the network.
Set up Printer Manually
Manually setup is usually done with the USB cable that why most of the new printers come with the installation CDs.
-
After ensuring the device connectivity with power cable, click on the power button.
-
If the need for a touch screen required activate it. If your printer doesn’t have a touch screen, set up your HP Printer to a wireless network using the software.
-
Now choose the setup option and click on the Wireless
-
Now pick the Network, then open the Wireless network screen.
-
Pick your network name and set the password for it. In case your router has WPS button press and hold it for three seconds.
-
Click on Done, it will save all your password, now the printer will start searching for the network connection.
-
Click on Ok when your printer successfully connects with the network.
Few useful Installation tips
-
It is important to have the right set of drivers installed for the printer on your computing device. So, first, remove the incompatible drivers and now, get the correct drivers from the manufacturer’s website
-
Do not USB cable to the printer, without installing the right set of the driver as it can hamper installation.
-
To remove the HP Printer Offline error, you can restart the printer and computer. This will help, in all scenarios of error
-
Disconnecting and reconnecting the USB cable will help in some cases to fix the errors.
-
When USB cable connection is not working, you can connect the printer to a different USB port
Read this also: How to Fix Common Problems of HP Printer?


 33574
33574

*********9@artgulin.com
Bitcoin: Can be accessed and used by anyone with an internet connection, regardless of location. It is not tied to any specific country or economy. Instant withdrawal bitcoin casinos