
Below are some reasons why you have a shaken cartridge, bark cartridge, or print cartridge cradle stuck error on you HP.
Here's another infamous HP printer difficulty that most people have likely encountered a few times. If you don't, soon you can (I'm not cheating on you personally). This is because the more often you publish or sometimes print, it's highly likely that you will receive a blocked or delayed contribution. Although there are other reasons why this is so. In the guide below, I have put together the themes as well as the best fixes I found on the web to fix this notorious printer problem. I have implemented these fixes on the HP Photosmart 5520 e-all-in-one printer and they can also be applied to additional HP printers using the LED control panel.
Below are some reasons why you have a shaken cartridge, bark cartridge, or print cartridge cradle stuck error on you HP.
The printer does not print
The printer stopped working suddenly
Here are some simple and quick solutions you can try:
Repair 1:
Turn off the printer and let it cool down for 60 minutes.
Turn the printer over and let it warm up. (Wait for the printer to stop beeping)
Open the paper and load it into the newspaper. Assess whether the paper is wrapping.
Align newspaper and undo input.
Run a test print.
When the printer prints, the matter is resolved. You can continue printing without any problems.
If the printer does not print, go to Correct two.
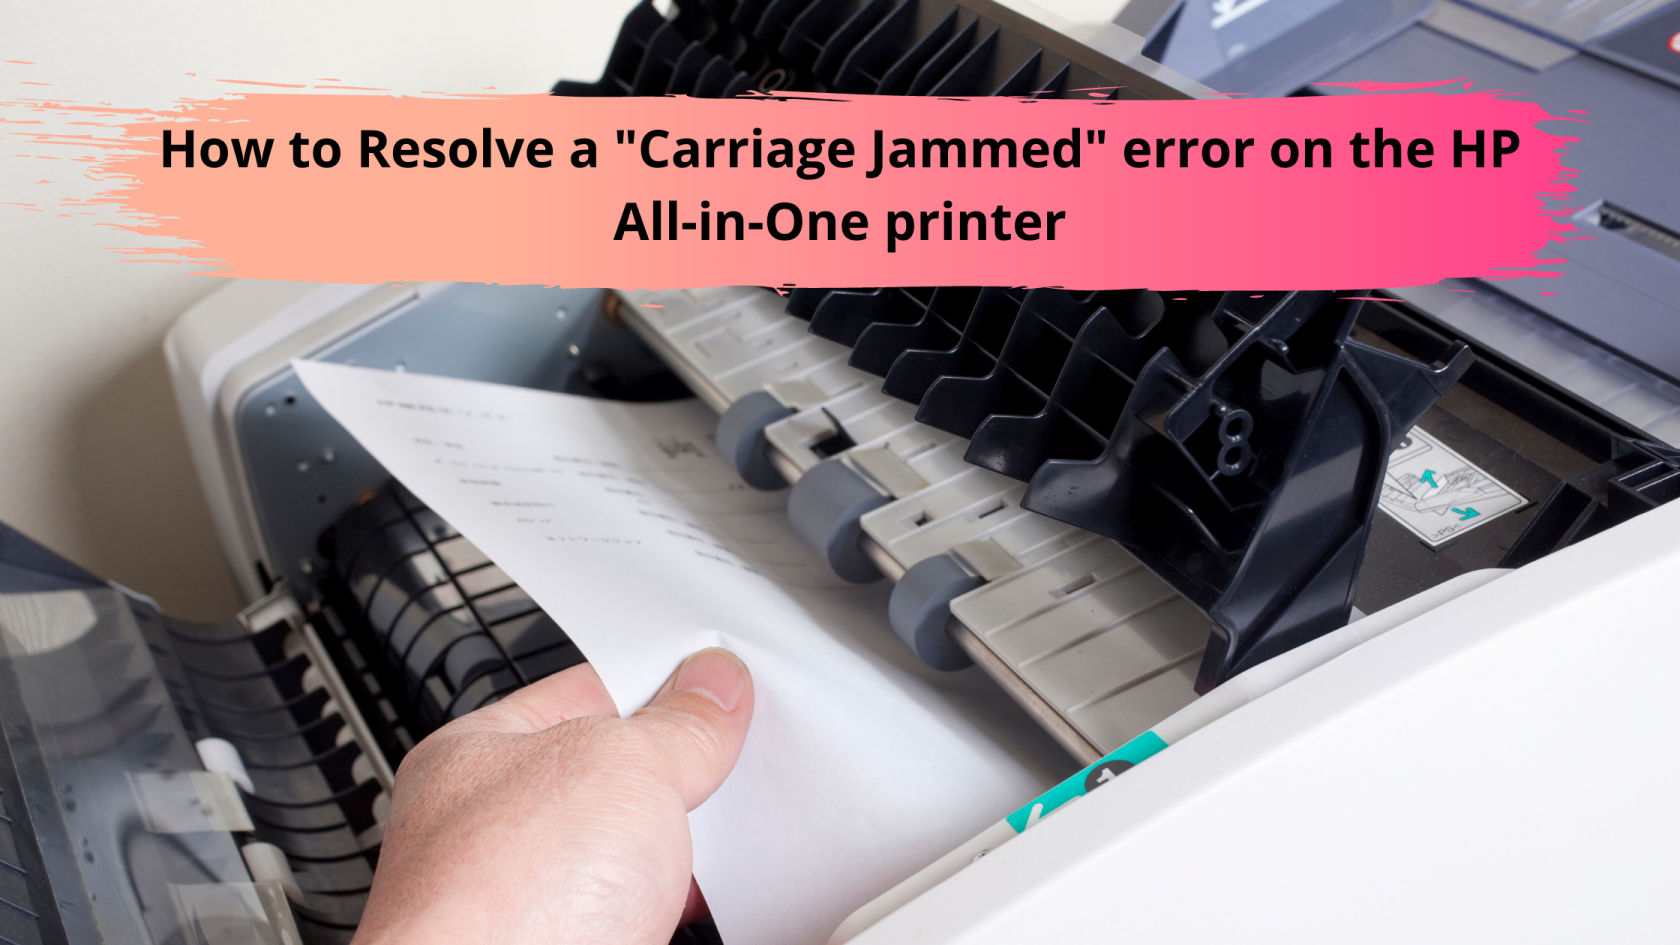
Repair 2:
You will likely clear the paper jam. Of course, I have another post on this subject, but let's put it here so you don't have to go anywhere.
Turn on the printer.
Slide open the entrance and remove any loose paper.
If there is any jammed paper in the printer, remove it by gently pulling it out.
Carefully examine the menu to find out if there is any abandoned torn paper. Also, start looking for additional foreign bodies.
Swipe from the entrance. Go to the back of the printer.
While it is still on, disconnect the power cord from the printer. Eliminate any attached cables and USB.
Open the printer cover and check for foreign objects or torn paper.
Eliminate them gently to prevent internal damage. Make sure the printer is fully validated for any scraps and small pieces of paper with a flashlight.
Find the cleaning door handle (it's a white handle near the back of the printer)
Pull out of the cleaning door. Check to see if there are any foreign objects or jammed paper. Make sure you have fully confirmed the printer.
Lift the duplexer lever to see if there is anything stuck between them.
Set the printer on its own side and check if there is a paper jam or if there are any foreign objects.
Reconnect the power cord and other cables to the printer.
Turn on the printer and wait for it to warm up.
Run a test print.
When the printer prints, the matter is resolved. If it does not print, go to the next repair.
Repair 3:
Turn on the printer.
When it is on, disconnect the power cord from the printer. Remove the plug from the power adapter.
Also eliminate any connected cables.
Open the printer cover to view the cartridge carriage.
The carriage should be on the ideal side of this printer. Move right manually. If the carriage is not moving, check to see if something is blocking the movement.
Eliminate paper shake or foreign objects.
Gently shift the sticks of the cartridge to the left side. Do exactly the same type of assessment and remove any obstacles. Set the dial on the perfect side.
If there are no longer any obstructions, close the printer cover.
Reconnect the power cord and other cables. Connect the printer to a power source.
Turn on the printer and wait patiently for it to warm up.
Run a test print.
If the printer still does not print at this point, proceed to the next repair.
Repair 4:
Turn on the printer. Open the printer cover.
Wait for the cartridge to maneuver at the center of this printer.
Dispose of HP Photosmart 5520 ink cartridges and place them carefully on the paper to prevent leakage.
Clean the nozzles if they are clogged.
If the cartridge contains low ink levels, you might need to replace them.
Reinstall the ink cartridges correctly and in accordance with their own compartment.
After you have safely installed the cartridges, close the printer cover.
Run a test print.
If the error persists, it's time to call your printer technician. If your printer is still under warranty, call HP Support and make the most of all the assistance it offers.


 33573
33573